"Technique is communication: the two words are synonymous in conductors."
- Leonard Bernstein
- Leonard Bernstein
Why Should You Care About Technique if Many Artists Can Make Great Music Without It?
This is an excellent question. Sufficient technique is not required to make music. Many great performers in many instruments have been able to communicate profound musical ideas and move the hearts of millions of listeners without possessing "good technique." This only attests to these artists' ability to create something beautiful while overcoming the physical difficulties of their respective mediums.
Rather than following a set series of steps and recommendations in order to get the most out of their medium, these artists that you may admire took a different approach. They invested countless hours into crafting their own technical approach to be able to communicate any musical idea they wanted to share. This personalized set of tools has mixed results when being taught to others who want to make their own music.
With this in mind, a refined technical approach can improve how you communicate your musical ideas through your instrument. You will be able to uncover new physical mechanisms to add to your toolbox so that your musical ideas can have more clarity and weight when performing for an audience.
How Do I Learn the “Correct” Techniques of Guitar Playing?
There is no correct or incorrect technique on the classical guitar. While this may come off as controversial, our discussion about many artists who make it with "unconventional" styles of performance demonstrate that certain techniques work for some and not for others. I would prefer to use two points of reference when discussing technique in musical performance: optimal or suboptimal.
On the classical guitar, we may be able to accomplish a difficult passage each time. However, the mechanisms we use to accomplish this may be more or less optimal for the health of our body or the larger musical ideas we are trying to communicate. Our physical habits may create additional difficulties that we may not be able to see at first glance.
In sum, this assertion of "correctness" in technique creates the idea that something works for everyone. This is not the case, and my job as an instructor is to find exactly what works for you.
How Do I Strive for “Optimal Technique” on the Classical Guitar?
There are many variables that contribute to what feels optimal for each individual student. With this in mind, there are some important components that will be addressed in terms of building a solid foundation for each student to work from:
1. Guitar Positioning and Body Alignment
2. Positioning of the Right Hand
3. Positioning of the Left Hand
Is There an "Optimal" Way to Position the Body and the Guitar?
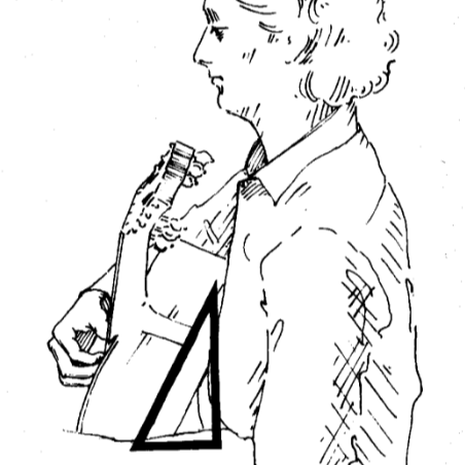
The body makes many adjustments when holding the guitar such as raising the left leg, leaning forward for additional support, and bringing the right arm around the body of the instrument. These changes in spinal alignment and other muscle groups can bring about harmful habits including hunching or over-activation in certain parts of the body. Therefore, learning how the body can operate freely with and without the instrument is important for long term health.
Some traits that I will address when finding your optimal set up include:
1. Exploring with various guitar supports to determine what works best for the body
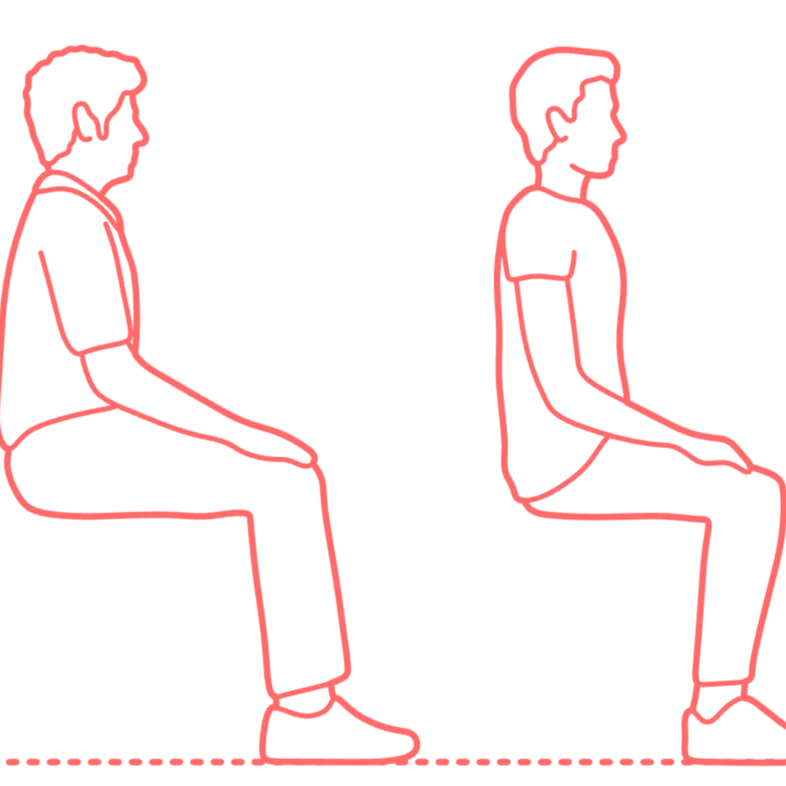
2. Using principles of Alexander Technique to find an ideal seated position
3. Testing the range of the left and right hand to determine ideal guitar positioning
4. Addressing differing levels of activation in the shoulders, forearms, wrists, and hands when holding the guitar in a "resting" position and how each contact point can be used for stability
Is There an Optimal Way to Position the Left and Right Hand?
(Teaching Sample #1)
(Teaching Sample #1)
When playing the classical guitar, the left and right hand need to accomplish their own set of complicated motor tasks at the same time. While the right-hand fingers pluck the string and left-hand fingers press onto the string, these motions are close enough that can cause some difficulty in coordination.
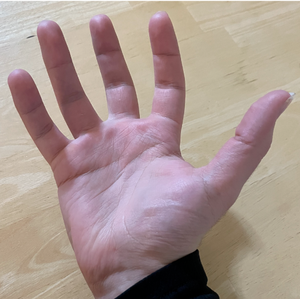
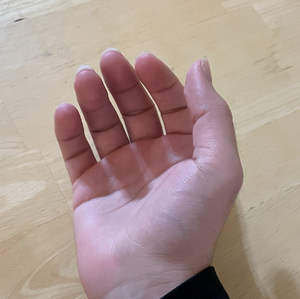
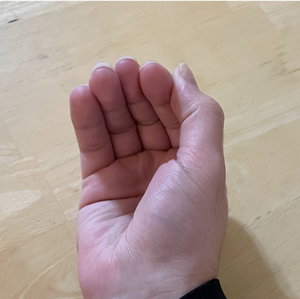
Since the hands are responsible for how the guitar creates and sustains its sound, the first step towards optimal positioning requires an understanding of how the hand tenses and relaxes.
Since the hands are responsible for how the guitar creates and sustains its sound, the first step towards optimal positioning requires an understanding of how the hand tenses and relaxes.
Considering these three states of the hand, it is important to understand the sensation of the relaxed fingers before placing your hand on the guitar. This will provide multiple benefits for longer-term performance health including:
1. Reducing the likelihood of squeezing your hand during performance.
2. Noticing when certain fingers squeeze together or squeeze towards the hand.
3. Minimizing risk of developing injuries such as tendonitis and focal dystonia.
1. Reducing the likelihood of squeezing your hand during performance.
2. Noticing when certain fingers squeeze together or squeeze towards the hand.
3. Minimizing risk of developing injuries such as tendonitis and focal dystonia.
Case Studies in Hand Placement and Finger Tension
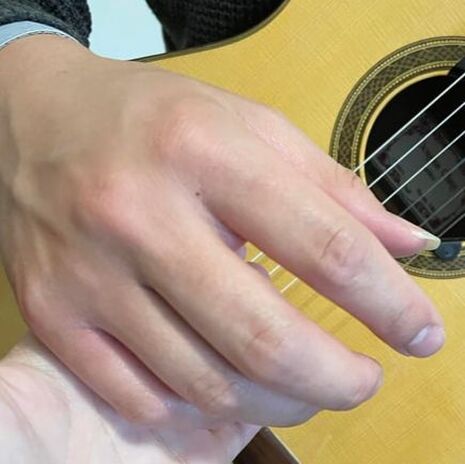
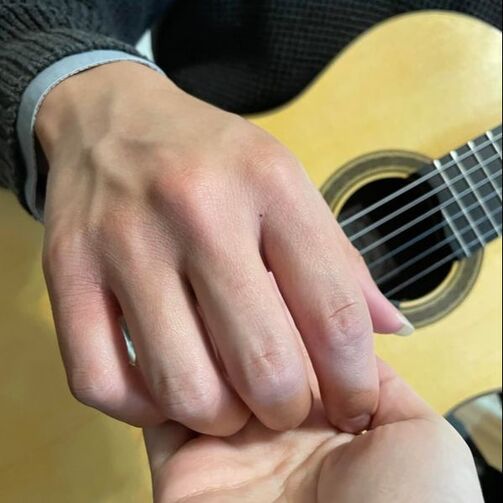
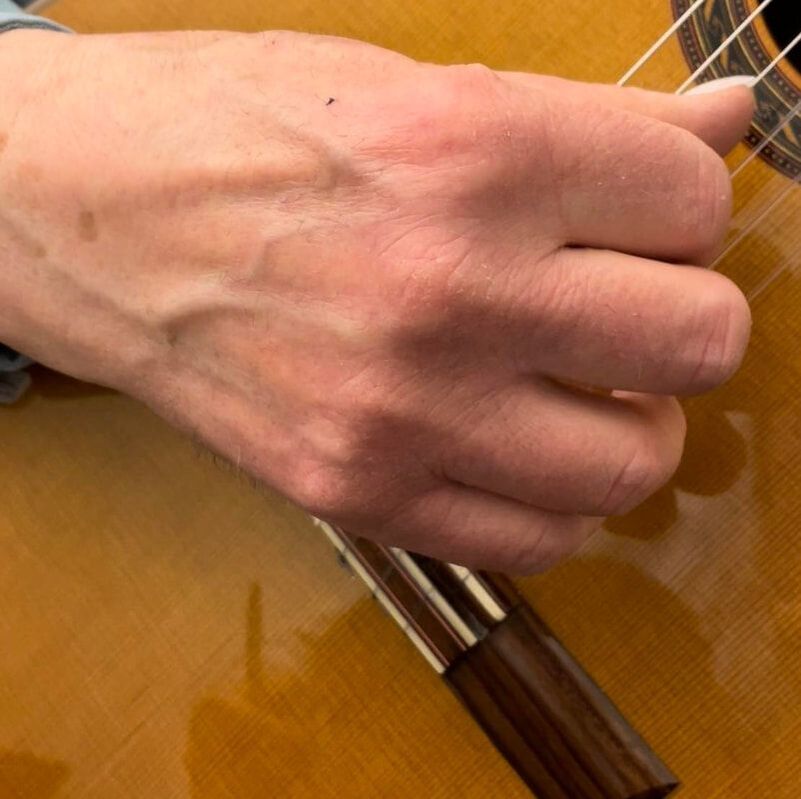
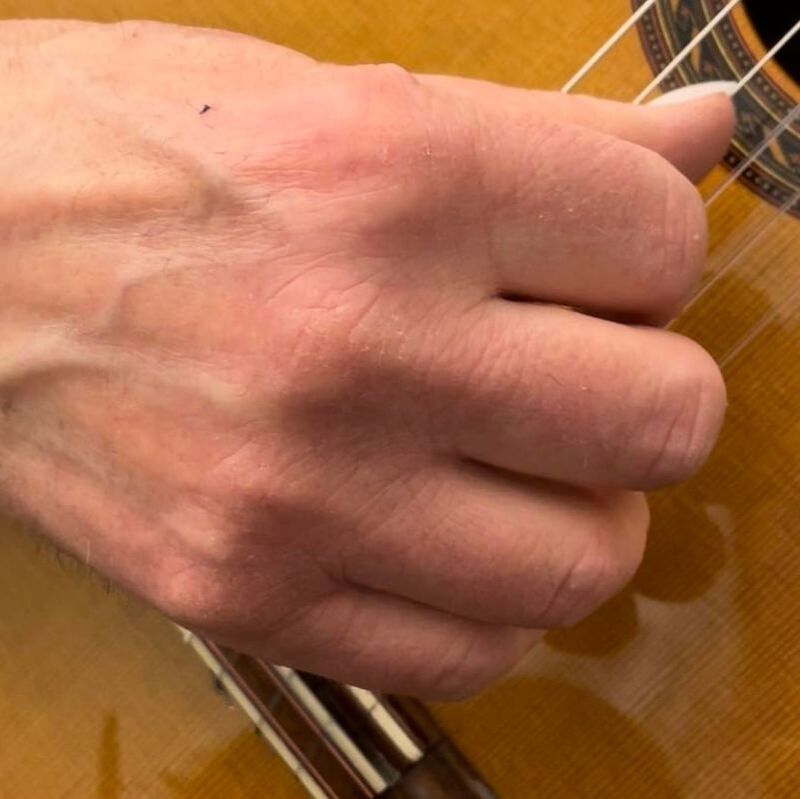
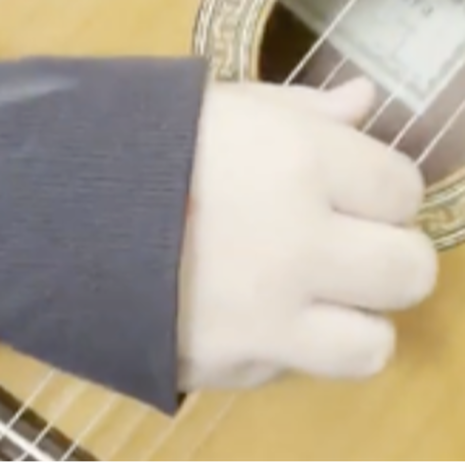
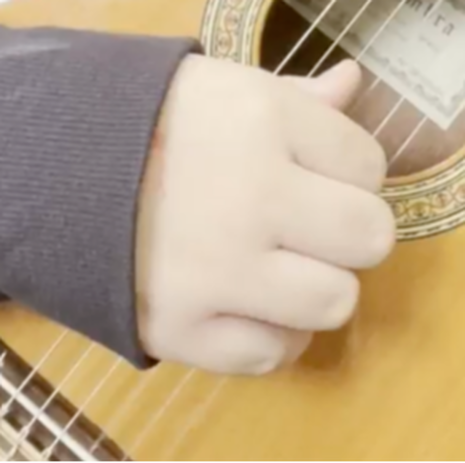
Here are just a couple of case studies from current and prior students to help demonstrate this point in more detail.
What Is the Optimal Finger Positioning When Plucking the String?
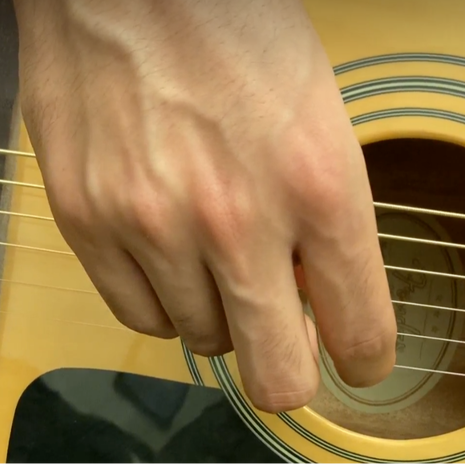
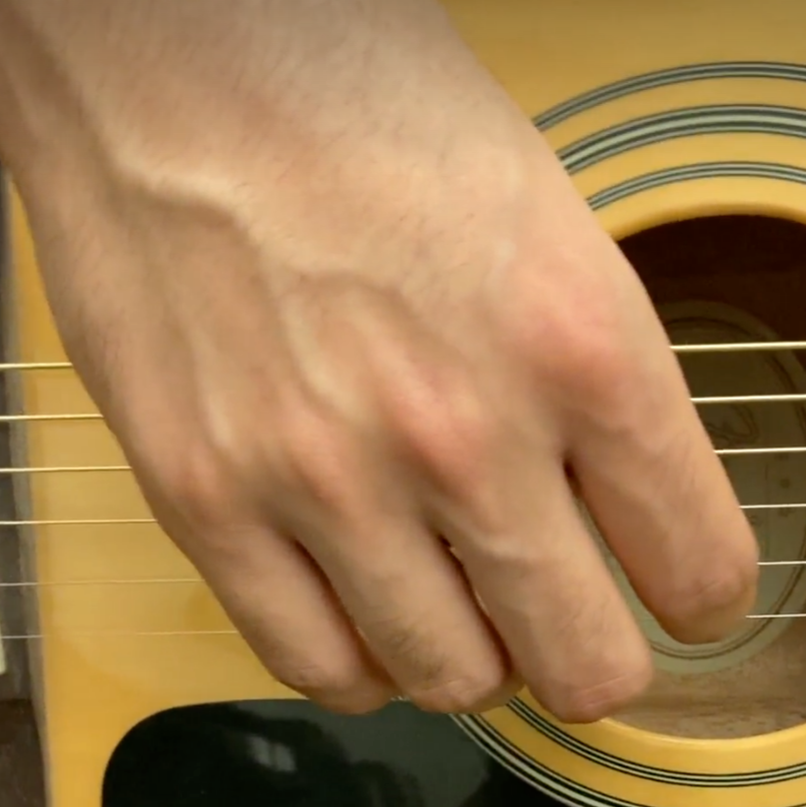
Once the specific traits become apparent through visual or physical cues, I help the student develop the sensation of plucking the string from a relaxed state, as demonstrated on the right side of each case study. This natural space between each finger is preserved while avoiding unnecessary abduction or adduction between fingers.
Once the specific traits become apparent through visual or physical cues, I help the student develop the sensation of plucking the string from a relaxed state, as demonstrated on the right side of each case study. This natural space between each finger is preserved while avoiding unnecessary abduction or adduction between fingers.
If We Were to Start Lessons, What Would Be the Next Steps?
It is important to address that this is only one step of the restructuring process.
I am showing you how I would introduce a concept, recognize points of diversion, and help create optimal variations of the specific technique or topic. This is used in conjunction with shorter pieces and etudes. Also, if you notice a lack of writing surrounding the left hand, it will be gradually incorporated as the right hand feels more stable.
The pacing of our lessons will depend greatly on age and skill level. For younger students, these concepts will be addressed gradually through solo pieces or duets. For advanced students, these will be addressed through various technique books before being applied to shorter studies and concert etudes. Each of these stages will address how musical expression can be achieved through color, dynamic range, and longer phrasing.
These technical and musical concepts are organized in a way that creates a sense of linear progression. While each student's progress moves at a different pace, here are the general principles that will be addressed over time in all lessons... including but not limited to:
1. Rest Stroke (RS) on One String with IM, IA, and MA
2. Free Stroke (FS) on One String with IM, IA, and MA
3. Introduction of String Crossing through RS and FS on Two Strings
4. Gradual Development of Single String Plucking to Six Strings
5. RS and FS in the Thumb
6. Alternations between PI, PM, and PA on Two Strings.
7. Alternation between IM, IA, and MA on Two Strings.
8. Development of the Six Patterns with Increased String Spacing
9. Introduction of Three-Note Arpeggios in PIM, PIA, PMA, and IMA
10. Introduction of Four-Note Arpeggios in PIMI, PMIM, PIAI, PAIA, PMAM, PAMA
11. Introduction of Four-Note Arpeggios in PIMA, PAMI, PIAM, PMAI, PMIA, PIAM, and PAIM
12. Simultaneous Plucking with Two Fingers
13. Simultaneous Plucking with Three Fingers
14. Simultaneous Plucking with Four Fingers
15. [...many other stages relating to physical and musical concepts involving smaller and larger muscle groups of the body...]
How Can I Use These Principles to Make Music?
The role of the performer is to take what the composer has transcribed and present it to the world in their own way. In order to focus on communicating these ideas efficiently for others to notice, a foundation of control and precision in the left and right hand can provide numerous benefits in helping you accomplish these goals in a physically healthy manner.
This freedom will allow you to focus on the micro-elements and macro-elements of phrasing including dynamic levels, harmonic tension, layering, and others, without the physical hinderances that can diminish your energy and ability to express yourself in your music.
Why Should You Consider a Trial Lesson with Me?
My goal as an instructor is to help you feel confident and satisfied with the music you are creating. As you begin your own journey of refinement in developing your own musical voice, I can help guide you through the process to avoid major pitfalls, save time, and be able to teach this to your own students in the future if you would like to pursue a career as a classical guitar instructor.
My goal as an instructor is to help you feel confident and satisfied with the music you are creating. As you begin your own journey of refinement in developing your own musical voice, I can help guide you through the process to avoid major pitfalls, save time, and be able to teach this to your own students in the future if you would like to pursue a career as a classical guitar instructor.
If you want to improve how you perform the classical guitar, I can help you get there.
© 2024 Chandler Dillingham

